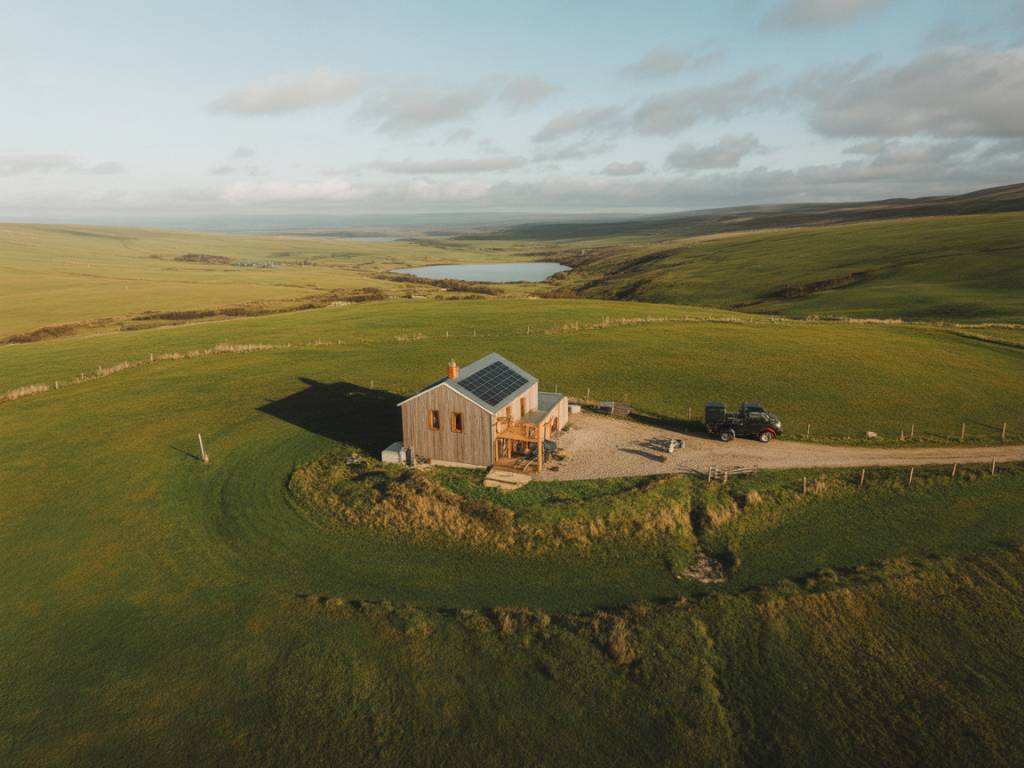
On some January evenings in Britain, you can almost hear an old house shiver. The kettle boils, the radiators tick, and yet the warmth seems to slip away through gaps you can’t quite see. Many of us who live in pre‑1990s homes know this feeling all too well: draughty hallways, cold patches near skirting boards, and that faint chill that never quite leaves the bedroom.
Retrofitting an older UK home for better insulation doesn’t have to mean scaffolding, five‑figure quotes and months of disruption. There is a quieter, more realistic path: a sequence of thoughtful, budget‑friendly changes that slowly turn a leaky building into a comfortable, efficient home.
This is a guide for anyone who loves the character of their older house but is tired of feeding the gas meter like a hungry pet. We’ll stay grounded in what’s practical, with a focus on cost, comfort and carbon—without losing the charm of your bricks, beams and bay windows.
Understanding where your heat is really going
Before spending a pound on insulation, it helps to know where heat typically escapes in an older UK home. Roughly, the losses look like this (it varies by property, but the proportions are useful):
- Roof / loft: 20–25%
- Walls: 30–40%
- Windows & doors: 15–20%
- Floor: 10–15%
- Draughts & ventilation leaks: 10–15%
In other words, that persistent cold feeling isn’t just “bad windows”. It’s an orchestra of small and large leaks playing together.
If you take only one idea from this article, let it be this: plan your retrofit as a journey, not a single project. You don’t need to fix everything at once. Start with the cheapest, highest‑impact steps, learn from the results, then move on.
Step zero: a realistic budget and a simple plan
You don’t need a grand design. You need a simple sequence:
- Phase 1: “Tea and tape” changes (£0–£300) — draught‑proofing, small repairs, quick insulation wins.
- Phase 2: “Ladder” changes (£300–£2,000) — loft top‑up, basic floor and pipe insulation, improved heating controls.
- Phase 3: “Scaffolding” changes (£2,000+) — walls, windows and bigger fabric upgrades, ideally timed with other work.
Think in years, not weekends. A modest but steady annual budget often beats a single expensive renovation that never quite gets finished.
Phase 1: The cheap wins that older homes secretly love
Imagine spending less than the price of a short holiday and feeling the house soften and quieten around you. That’s what the first phase is for: plug obvious gaps, ease draughts, and keep heat where you’ve paid to put it.
1. Draught‑proofing (your best £50–£200)
In many Edwardian terraces and Victorian semis, draughts steal more heat than you’d think. Look for them on a windy day with the heating on low. A lit incense stick or small strip of tissue can show air movement around:
- Letterboxes and keyholes
- Gaps around doors (especially to cold porches)
- Sash windows where the frames no longer sit snugly
- Chimneys no longer used
- Loft hatches
On a realistic budget, focus on:
- Brush and rubber seals for external doors and letterboxes
- Low‑cost sash window draught strips that can be DIY‑fitted
- Chimney balloons or made‑to‑measure covers for unused flues (but leave one air‑bricked room or trickle vent somewhere—homes still need to breathe)
- Foam tape around loft hatches and internal doors to cold spaces
These changes rarely win design awards, but they can cut draught heat loss by up to half in a leaky home.
2. Radiators, pipes and the “invisible insulation”
- Reflective foil behind radiators on external walls can bounce heat back into the room. It’s inexpensive and takes minutes to install.
- Pipe lagging on accessible hot‑water pipes stops you paying to heat your crawlspace or airing cupboard.
- Bleed radiators and balance the system so every room warms evenly. Not glamorous, but very effective.
3. Smarter heating controls
Before you replace a boiler or talk about heat pumps, check that your current system is not being run like a kettle permanently left on boil.
- Install thermostatic radiator valves (TRVs) if you don’t have them; they let you keep spare rooms cooler.
- Use a basic smart thermostat or programmable timer. You don’t need an app with weather forecasts and mood tracking—just the ability to heat only when you’re home.
These Phase‑1 steps often shave 10–20% off bills with relatively little upheaval.
The loft: the cheapest “big” insulation job
If an older UK home could talk, the loft would probably sound the coldest. Heat rises, and without proper insulation it escapes straight through the roof.
In many properties built before the 1990s, you’ll find a thin layer of dusty mineral wool—perhaps 50–100 mm. Current UK guidance suggests around 270 mm for a modern level of performance.
On a realistic budget, aim for:
- DIY top‑up insulation if access is easy and the loft is dry and ventilated.
- Reaching at least 200–270 mm of mineral wool or equivalent.
- Insulating and draught‑proofing the loft hatch as carefully as you would an external door.
Two quick cautions:
- Don’t block eaves ventilation. Insulation should stop where the roof meets the walls, with ventilation maintained to reduce condensation risk.
- Don’t bury electrical junction boxes or downlight fittings—leave safe clearances or seek an electrician’s advice.
This is one of the rare home upgrades that can pay back within a few winters on energy savings alone.
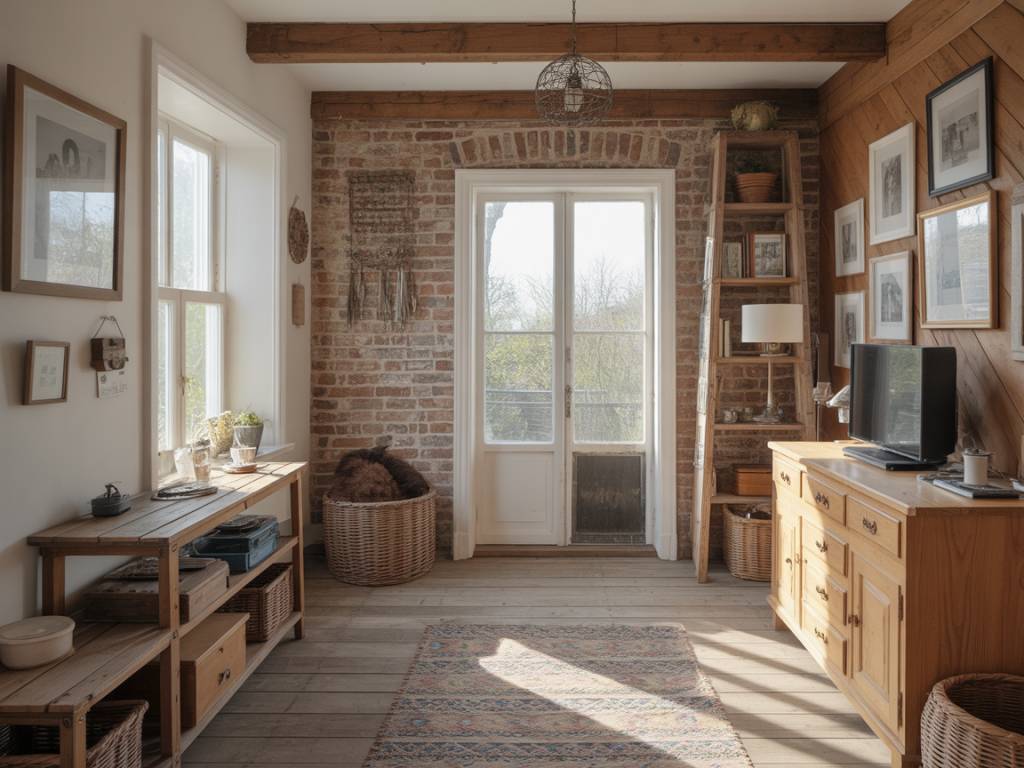
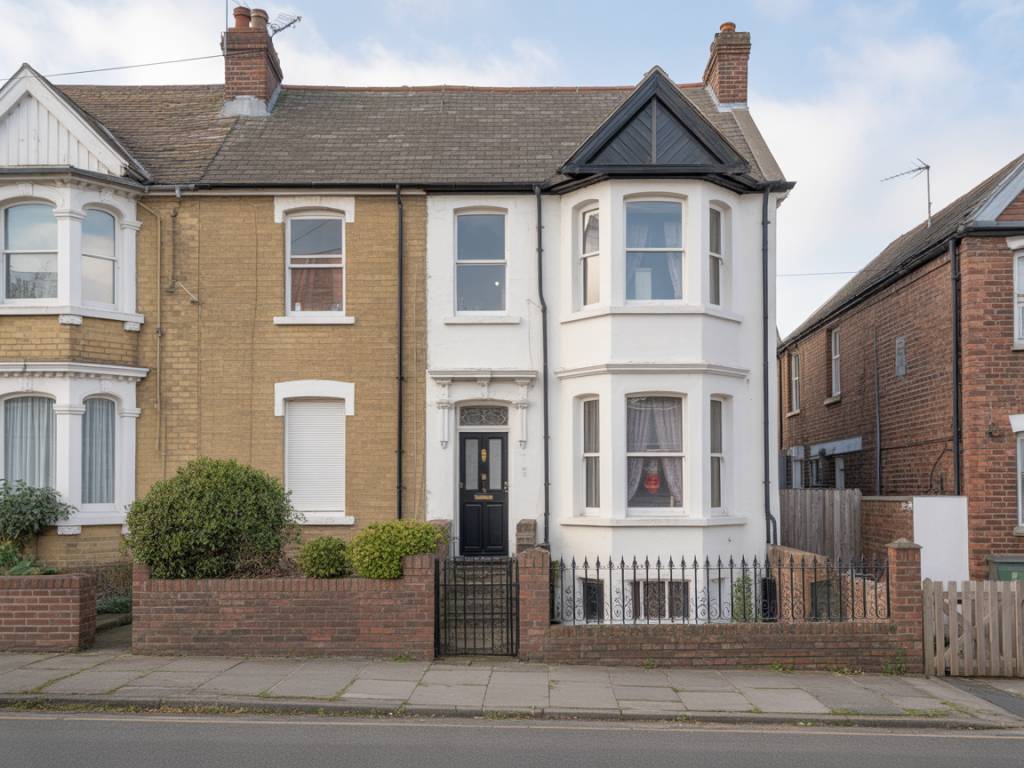
Walls: solid, cavity, and the delicate art of staying breathable
When people talk about “poorly insulated British homes”, they’re often talking about walls. Many pre‑1920s properties have solid brick or stone walls with no cavity to fill. Post‑1920s houses often have cavity walls that may or may not already be insulated.
Step one: know your walls
- Check your Energy Performance Certificate (EPC) if you have one.
- Look at the brickwork pattern: an alternating “header and stretcher” pattern often means solid walls; uniform “stretchers” usually signal a cavity.
- When in doubt, a local surveyor or retrofit assessor can clarify—useful if you’re considering bigger work.
If you have cavity walls:
Cavity wall insulation can be one of the most cost‑effective upgrades, especially if subsidies or grants are available in your area.
- Ask a reputable installer with experience in your local housing stock.
- Check that your walls are in good condition—no major cracks, no severe penetrating damp.
- In exposed coastal or driving‑rain locations, proceed with particular caution; poor installations in the wrong context can trap moisture.
If you have solid walls:
Here, budgets and aesthetics tug in different directions. Full internal or external wall insulation can be expensive and disruptive, so think in layers and opportunities.
- Internal wall insulation “by room”: focus first on the coldest rooms you use the most—often north‑facing bedrooms or living rooms.
- When you already plan to re‑plaster or re‑wire, that’s the time to consider adding insulated plasterboard or natural insulation boards.
- Breathability matters in older brick and stone. Lime‑based plasters and vapour‑open insulation (wood fibre, cork, some forms of mineral wool) help moisture move through the wall instead of being trapped inside it.
There’s no single “correct” answer for all solid‑walled homes. The realistic route is often incremental: one room at a time, timed with other renovations, guided by someone who understands both moisture and materials.
Windows and doors: more than just double glazing
New windows are often on people’s wish lists, but they are not always the first thing you should spend on if the budget is tight.
On a modest budget, think in layers:
- Draught‑proof existing frames (especially sash windows).
- Add secondary glazing—slim internal panels that create a still air gap without replacing the original window. These can be permanent or removable.
- Use heavy curtains with snug tracks that cover the wall above and below the window, not just the glass.
Many older sashes and casements can be refurbished and upgraded rather than replaced. Skilled joiners can fit new seals, slender double‑glazed units, or high‑quality secondary glazing that respects the character of period glass and timber.
If you do eventually choose new windows or external doors:
- Prioritise air‑tightness and good installation over chasing the last decimal point of U‑value.
- In conservation areas or listed buildings, check local planning rules early; sympathetic solutions almost always exist, but paperwork takes time.
Floors: warmth from the ground up
If you’ve ever stepped from a rug onto bare floorboards and felt a sudden chill rising from below, you’ve met the uninsulated ground floor.
Suspended timber floors (common in older homes) can often be insulated from above during renovation, or sometimes from below via a cellar or crawlspace.
- Natural fibre insulation (like sheep’s wool or wood fibre) between joists works well in breathable older homes, so long as ventilation beneath the floor is maintained.
- Foam board insulation can also be used where moisture risks are lower and details are carefully handled.
- At the simpler end: large rugs, well‑fitted underlay and sealed gaps between floorboards are surprisingly effective interim measures.
Beware the temptation to block under‑floor air bricks “for warmth”. Those vents are there to prevent rot. Insulate between you and the cold air, but let the void breathe.
Moisture, mould and the importance of breathing well
Every improvement to insulation and airtightness changes how your house handles moisture. A cosy home that slowly grows black mould in the corners is not progress.
In older UK homes, especially those with solid brick or stone, the watchwords are “insulate carefully, ventilate intentionally”.
- Use trickle vents in windows or small wall vents where needed, particularly in bedrooms.
- Ensure kitchen and bathroom extract fans are working, vented outside, and used regularly.
- Dry clothes, where possible, in well‑ventilated spaces, not on radiators in closed rooms.
- If you tighten up draughts significantly, consider a continuous low‑energy extract fan or even small‑scale mechanical ventilation with heat recovery for very airtight homes.
The goal is a gentle, controlled exchange of air, not the wild gusts that rattle your letterbox and chill the sofa.
A real‑world rhythm: one couple’s phased retrofit
A couple in a 1905 brick terrace in Leeds described their journey to me over tea at a kitchen table scarred with the marks of previous owners. They didn’t have the budget for a single grand retrofit, so they took a seven‑year approach.
- Years 1–2: They tackled draughts, loft top‑up, radiator reflectors and heating controls. “It just felt less…restless,” they said. Rooms stayed warm for longer, and their gas bill dipped noticeably.
- Years 3–4: During a planned kitchen renovation, they insulated the floor and added internal wall insulation on two external walls. The difference in winter mornings was “like moving the house 300 miles south”.
- Years 5–7: They refurbished original sash windows with new cords, seals and secondary glazing, and insulated the front bedroom wall during re‑decoration. The house retained its character, but the cold draughts of their first winter were now a memory.
They never spent more than they could handle in a single year, but the cumulative effect was striking: warmer rooms, quieter interiors, lower bills, and a home that still looked like itself.
Finding support: grants, advice and when to call in help
Retrofitting on a realistic budget is easier when you’re not doing it entirely alone.
Check for local and national support:
- Energy supplier schemes for loft and cavity wall insulation
- Occasional government grants or zero‑interest loans for energy efficiency
- Local council initiatives targeting older housing stock
- Charities and community groups offering home energy advice visits
For bigger decisions—especially anything involving walls, roofs or whole‑house changes—consider a retrofit assessment from a qualified professional (for example, someone working to PAS 2035 standards in the UK). A good assessor won’t just sell you products; they’ll build a plan that looks at your home as a system.
Weaving comfort, character and carbon together
Older UK homes carry stories in their walls: soot from long‑extinguished fires, pencil marks under layers of wallpaper, the faint outline of an old picture rail. The task is not to erase those stories with plastic and plasterboard, but to make the building kinder—to you and to the planet.
That kindness does not require perfection. It might look like:
- A loft finally given the insulation it has begged for since 1978.
- Windows that still open with a familiar rattle, but now close against a soft seal.
- A hallway where you no longer feel a visiting gale from the North Sea every time the front door closes.
- Gas and electricity bills that nudge down, year after year, as your collection of small improvements quietly get on with their work.
Retrofitting an older home is less about chasing an abstract “A‑rated” badge and more about respect—for materials, for moisture, for your own budget and patience. Start where you are, with the draught under your feet or above your head. Listen to what your house tells you when the wind rises. And then, one winter at a time, help it keep its warmth a little longer.