On a bitter January evening, you can almost feel an old British house exhale. The radiators click on, the boiler hums, and within twenty minutes the warmth has crept out through the walls, the loft, the gaps around the letterbox. If you own or rent a pre-1990s home in the UK, this is not imagination — it is physics, and it costs the average household hundreds of pounds every year.
The good news is that retrofitting older UK homes for better insulation and lower bills on a realistic budget is entirely possible without five-figure quotes, months of scaffolding, or sacrificing the character that makes older properties worth living in. What it requires is a clear sequence, honest priorities, and a willingness to think in phases rather than in a single overwhelming project.
This guide walks you through exactly that — from the cheapest draught-busting fixes you can do this weekend to the bigger fabric upgrades worth planning over several years.
Why Retrofitting Older UK Homes for Better Insulation Matters More Than Ever
Around 80% of the homes that will exist in the UK in 2050 are already built. A significant proportion were constructed before modern building regulations introduced meaningful energy standards. That means the national housing stock is, by design, thermally inefficient — and individual households bear the cost through heating bills, cold rooms, and damp problems.
Average heat loss in a typical pre-1990s UK home breaks down roughly like this:
- Walls: 30–40% of total heat loss
- Roof and loft: 20–25%
- Windows and doors: 15–20%
- Floors: 10–15%
- Draughts and uncontrolled ventilation: 10–15%
The persistent chill in your hallway is rarely one problem. It is an orchestra of leaks playing together. That framing matters — because it means even partial improvements across multiple areas compound into meaningful savings.
Building a Realistic Budget for Home Insulation Improvements
The single biggest mistake homeowners make with retrofit projects is treating them as an all-or-nothing decision. You do not need to insulate everything at once. A phased approach tied to a modest annual budget is more achievable and, in practice, more effective.
A useful way to think about it:
- Phase 1 — Low cost, high impact (£0–£300): Draught-proofing, reflective foil, pipe lagging, smarter heating controls. These are often DIY-friendly and can cut bills by 10–20% alone.
- Phase 2 — Mid-range improvements (£300–£2,000): Loft insulation top-up, floor insulation where accessible, thermostatic radiator valves, and basic smart thermostats.
- Phase 3 — Bigger fabric upgrades (£2,000+): Cavity wall insulation, internal or external wall insulation for solid walls, secondary glazing or window replacement. These are best timed alongside other renovation work to share costs.
Think in years, not weekends. A steady £500–£800 annual budget applied systematically will outperform a single rushed renovation that never quite reaches the finish line.
Phase One — Draught-Proofing and Quick Wins for Older Properties
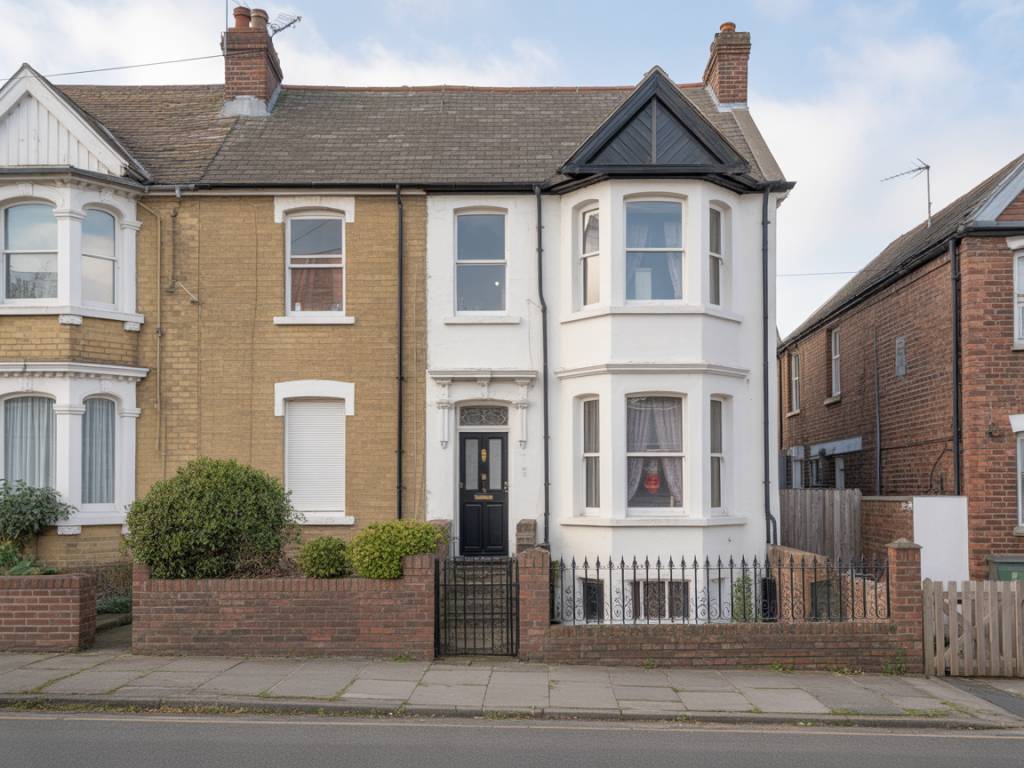
In many Victorian terraces and Edwardian semis, uncontrolled draughts are responsible for a larger share of heat loss than most owners realise. Before spending anything on insulation materials, spend an evening with the heating on low and a lit incense stick or strip of tissue paper. Move it around:
- Letterboxes, keyholes, and the gap beneath external doors
- Sash window frames where timber has shrunk over decades
- The loft hatch — one of the most overlooked draughts in any older home
- Unused chimney flues
- Gaps between skirting boards and floorboards in ground-floor rooms
Targeted fixes at these points cost very little but deliver immediate comfort:
- Brush and rubber seals on external doors and letterboxes typically cost £10–£30 per door and can be fitted in under an hour.
- Chimney balloons or draught excluders for unused flues cost £20–£40 and can be removed easily if you want to light a fire.
- Self-adhesive foam tape around the loft hatch frame takes minutes and makes a noticeable difference to upper-floor temperatures.
- Sash window draught strips are available for under £20 per window and are suitable for DIY installation without damaging original timber.
One important caveat: older homes need a degree of background ventilation to avoid condensation and maintain air quality. Sealing every gap entirely without providing controlled airflow elsewhere can cause problems. Leave trickle vents open, keep at least one air brick unblocked per room where possible, and ensure kitchens and bathrooms have adequate ventilation.
Loft Insulation — The Most Cost-Effective Big Upgrade
For most older UK homes with an accessible, pitched roof loft, adding or topping up insulation delivers the best return of any significant upgrade. Heat rises, and without adequate insulation it escapes directly through the roof.
Many pre-1990s properties still have only 50–100 mm of mineral wool in the loft — laid when they were built or during a previous energy scheme. Current UK guidance recommends 270 mm for a modern level of thermal performance.
What to do on a realistic budget:
- If the loft is accessible, dry, and clearly ventilated, topping up to 200–270 mm is a realistic DIY project. Mineral wool rolls are widely available and relatively straightforward to lay between and across joists.
- Insulate and draught-proof the loft hatch with the same care you would give an external door — add a frame seal and glue rigid insulation board to the top surface.
- Keep insulation away from the eaves to maintain airflow and prevent condensation building up in the roof structure.
- Do not bury electrical junction boxes or recessed downlighters under insulation without safe clearances or professional advice.
Well-executed loft insulation in a semi-detached property can save between £150 and £300 per year on heating bills, often paying back the material cost within two or three winters.
Understanding Your Walls Before Spending a Pound on Them
Walls represent the largest single source of heat loss in most older UK properties, but the right solution depends entirely on what kind of walls you have. Getting this wrong wastes money and can create moisture problems that take years to fix.
How to Identify Your Wall Type
- Check your Energy Performance Certificate (EPC) if you have one — it will usually state whether cavity wall insulation is present or recommended.
- Look at the external brickwork pattern. An alternating pattern of short and long bricks (headers and stretchers) typically indicates solid construction. Rows of uniform long bricks (all stretchers) usually signal a cavity wall.
- Measure the wall thickness at a window or door reveal. Solid brick is typically 220–230 mm; cavity walls are usually 280–330 mm or more.
Cavity Wall Insulation — When It Works and When to Be Cautious
If your home has unfilled cavity walls, professional cavity fill is one of the most cost-effective upgrades available. Typical costs range from £400 to £1,200 depending on property size, and various government grant schemes have periodically helped reduce this further.
Proceed carefully if your walls show signs of penetrating damp, significant cracking, or if the property is in a high-exposure location such as a coastal or hillside setting. Poorly executed cavity fill in these contexts can draw moisture across the wall and cause damp internally. Use an installer registered with the National Insulation Association and ask specifically about their experience with your local housing type.
Solid Wall Insulation — Planning for the Longer Term
Pre-1920s solid brick or stone walls are the most thermally challenging element of the older UK housing stock. Internal wall insulation (dry-lining with insulated plasterboard) and external wall insulation (render systems applied outside) both work, but both involve significant disruption or cost — typically £5,000–£15,000 or more for a whole house.
On a realistic budget, the most practical approach is to plan solid wall insulation room by room, timed alongside other renovation work such as replastering, kitchen fitting, or external redecoration. Done this way, the incremental cost is manageable and disruption is contained.
Heating Controls, Radiators, and the Savings Nobody Talks About
The least glamorous insulation upgrade is also one of the most consistently effective: making sure the heat you are already generating stays where you want it and is not wasted.
- Thermostatic radiator valves (TRVs) on every radiator allow you to keep unused rooms cooler without turning off the whole system. Fitting them across a typical home costs £100–£300 and can reduce heating costs by 10–15%.
- Reflective foil panels fitted behind radiators on external walls bounce heat back into the room rather than letting it warm the wall. They cost under £20 per radiator and take minutes to install.
- Pipe lagging on any accessible hot water pipes in unheated spaces — loft, underfloor voids, or garages — prevents you paying to heat space you never occupy.
- A programmable or smart thermostat does not need to be expensive or complicated. The ability to heat only when the house is occupied, and to set back the temperature at night, is the core function. Basic programmable models start at around £25.
These changes rarely feature in glossy renovation features, but in aggregate they can reduce annual heating costs by 15–25% without touching a single wall or roof tile.
Grants, Schemes, and Where to Find Funding for Retrofit Work
Retrofitting older UK homes for better insulation and lower bills on a realistic budget becomes considerably more achievable when available funding is factored in. The landscape changes regularly, but it is always worth checking:
- The Great British Insulation Scheme — targeted support for homes in lower EPC bands, covering loft and cavity wall insulation for eligible households.
- ECO4 (Energy Company Obligation) — energy companies are required to fund insulation and heating measures for low-income and vulnerable households.
- Local authority grants — many councils run their own schemes, sometimes using Warm Homes funding. Check your council’s website directly.
- Historic England guidance — if your property is listed or in a conservation area, specific guidance exists on sympathetic retrofit options that preserve character while improving performance.
Even if you do not qualify for grant funding, some measures — loft insulation in particular — can sometimes be installed at low or no cost through energy company schemes regardless of income.
A Practical Starting Point for Any Older Home
The most effective thing you can do today is walk around your home with fresh eyes and a simple checklist. Note the draughts, check the loft hatch, look at the radiators against outside walls, and find out what kind of walls you have. That twenty-minute survey is the foundation of every improvement that follows.
Retrofitting older UK homes for better insulation and lower bills on a realistic budget is not about perfection. It is about progress — steady, cumulative, and shaped around what your home, your budget, and your life actually allow. The houses are worth it. So is the warmth.